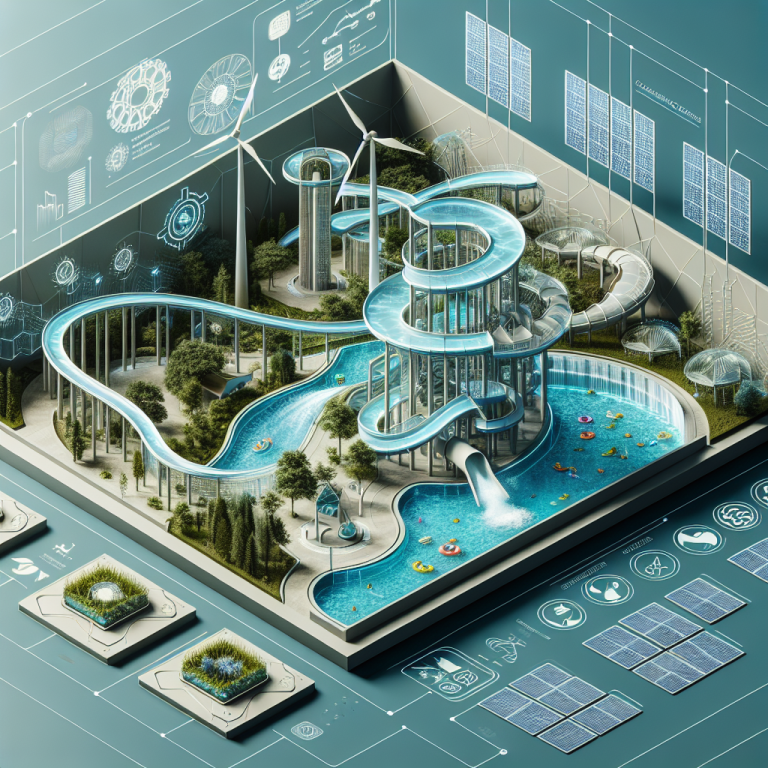
9 Steps To Fix Fiberglass Water Toys
Audio:
Text:
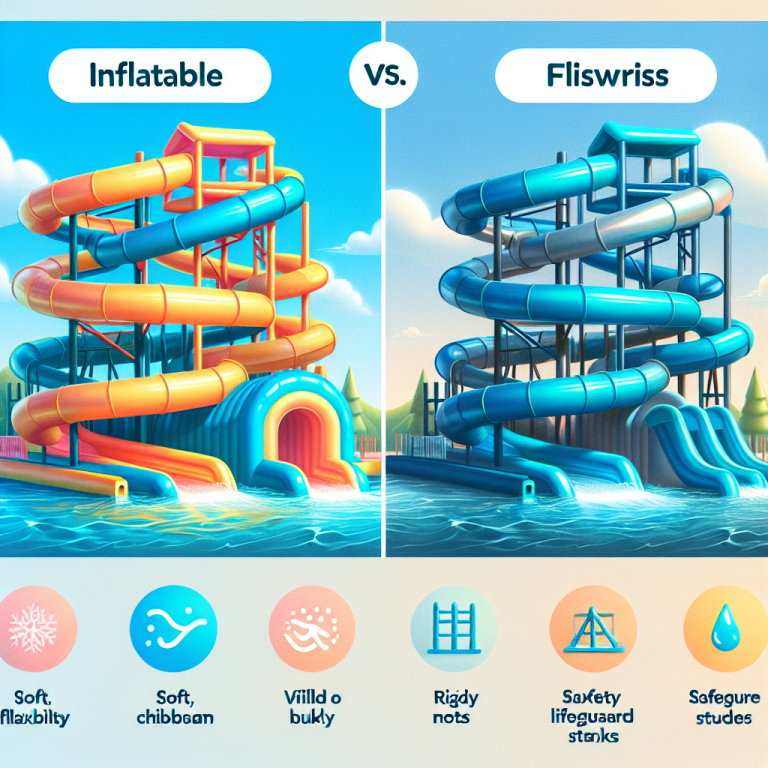
When it comes to maintaining your water play toys, ensuring they are in top condition is crucial for safety and longevity. One common issue that may arise is damage to the fiberglass material. Follow these 9 steps to effectively repair and restore your fiberglass water toys:
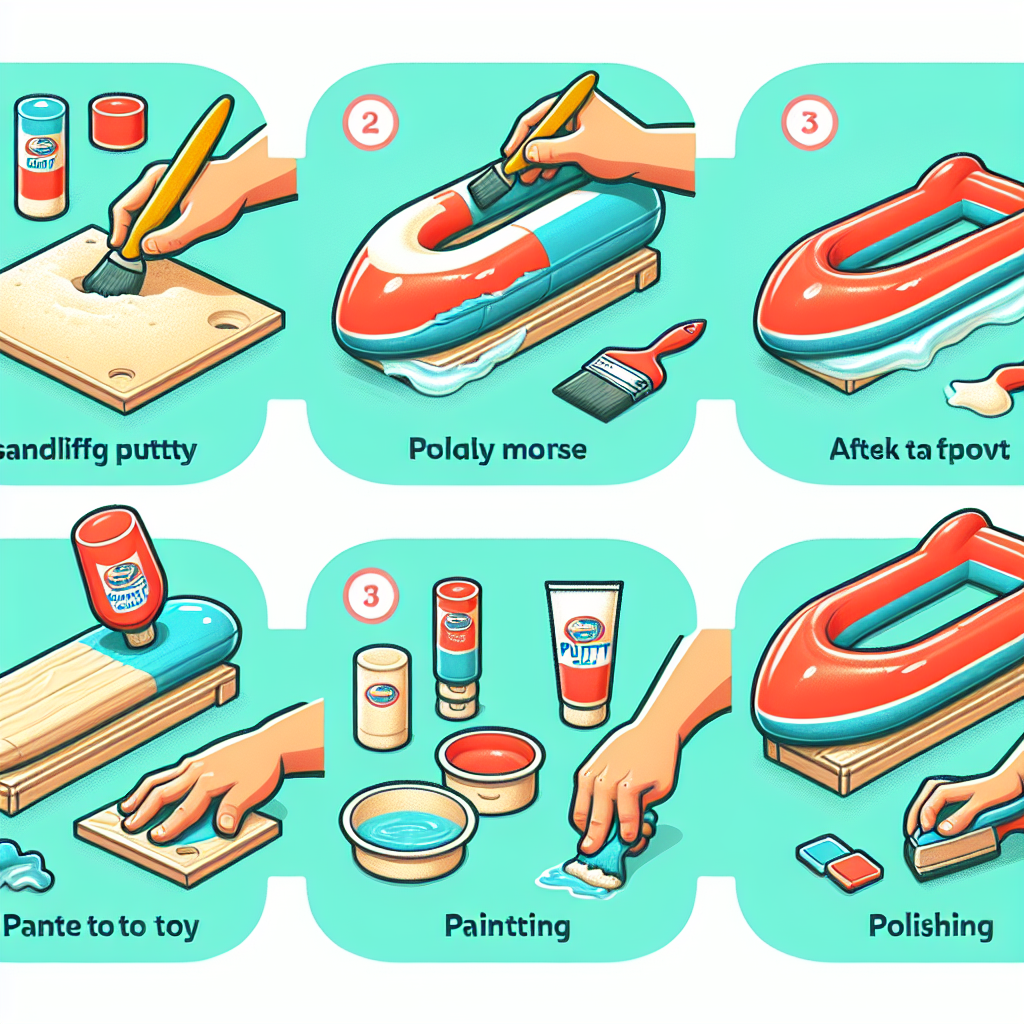
Step 1: Polishing
Begin by using 400# water sandpaper to polish the damaged area thoroughly. This step is essential to prepare the surface for repair.
Step 2: Cleaning and Putty Application
After polishing, clean the surface to remove any dust or water residue. Apply putty to the damaged area, ensuring a smooth and even application.
Step 3: Mixing Putty
Mix the putty with the curing agent in a ratio of 100:1.5. Stir the mixture thoroughly before use to ensure proper consistency.
Step 4: Surface Leveling
Ensure that the repaired area is level with the original surface for a seamless finish.
Step 5: Curing and Sanding
Allow the curing agent to harden for approximately 1.5 hours. Once hardened, use 600#-800# sandpaper to sand the surface smoothly.
Step 6: Final Polishing
Polish the repaired area to achieve a uniform and polished look.
Step 7: Repair Material Preparation
Gather the necessary repair materials and equipment, including a spray gun for painting.
Step 8: Painting
Choose a paint colour that matches the original product. Mix the paint with thinner and curing agent in a ratio of 1:0.5:0.25 for optimal results.
Step 9: Final Touches
Prior to painting, ensure the surface is clean and free of any debris. Apply the paint evenly, ensuring a smooth finish that enhances the overall appearance of the product.